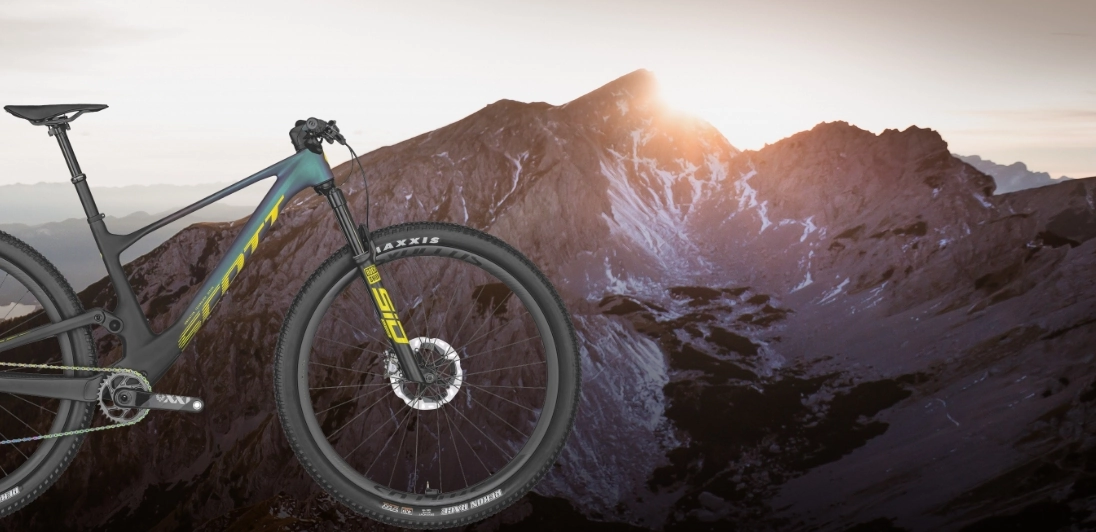
Have you ever thought about what makes mountain biking so exciting? It's all about the mountain bike suspension – that special part of your bike that helps you ride smoothly over rough trails.
Whether you're a pro or just starting out, understanding how mountain bike suspension works is important to make your rides better.
So, why wait? Let's learn more about mountain bike suspension and how it can make your rides even more awesome!
What is Mountain Bike Suspension?
At its core, mountain bike suspension is designed to absorb the bumps, shocks, and vibrations that come from riding over rough terrain. This not only makes for a more comfortable ride but also improves wheel traction and control, allowing for safer and more efficient navigation of obstacles.
Types of Suspension Systems
There are two primary types of suspension systems found in mountain bikes:
- Full Suspension: Full suspension mountain bikes feature both front and rear suspension. The front suspension, typically a fork, absorbs impacts from the front wheel, while the rear suspension, usually a combination of a shock absorber and linkage, manages impacts to the rear wheel.
- Hardtail: Hardtail bikes have a suspension fork at the front but no rear suspension. This design is simpler, lighter, and often more affordable.
Getting Started: Explaining Key Mountain Bike Suspension Terms
Before we get into the nitty-gritty details, it's important to get acquainted with some important terms that are related to mountain bike suspension. These terms include:
- Suspension Travel: The total distance a suspension fork or rear shock can compress. It's usually measured in millimeters and varies depending on the type of mountain biking.
- Sag: This is the amount of suspension compression when the rider is on the bike in a normal riding position. Proper sag is crucial for optimal suspension performance.
- Rebound: Refers to the rate at which the suspension returns to its uncompressed state after being compressed. Proper rebound settings are important for control and traction.
- Compression Damping: Controls how easily the suspension compresses when it encounters an obstacle or force. It helps manage the suspension's response to impacts.
- High-Speed Compression Damping: Specifically adjusts how the suspension reacts to high-speed impacts, like hitting a rock or a big root.
- Low-Speed Compression Damping: Adjusts the suspension's response to slower movements, such as body movements or rolling over small bumps.
- Air Spring: A type of suspension spring that uses air pressure as the spring medium. It's adjustable and can be tuned to the rider's weight and riding style.
- Coil Spring: A traditional type of spring made of metal. It offers a linear spring rate and is known for its plush feel.
- Lockout: A feature that allows the rider to effectively 'lock' the suspension, preventing it from compressing. This is useful for increasing pedaling efficiency on smooth surfaces.
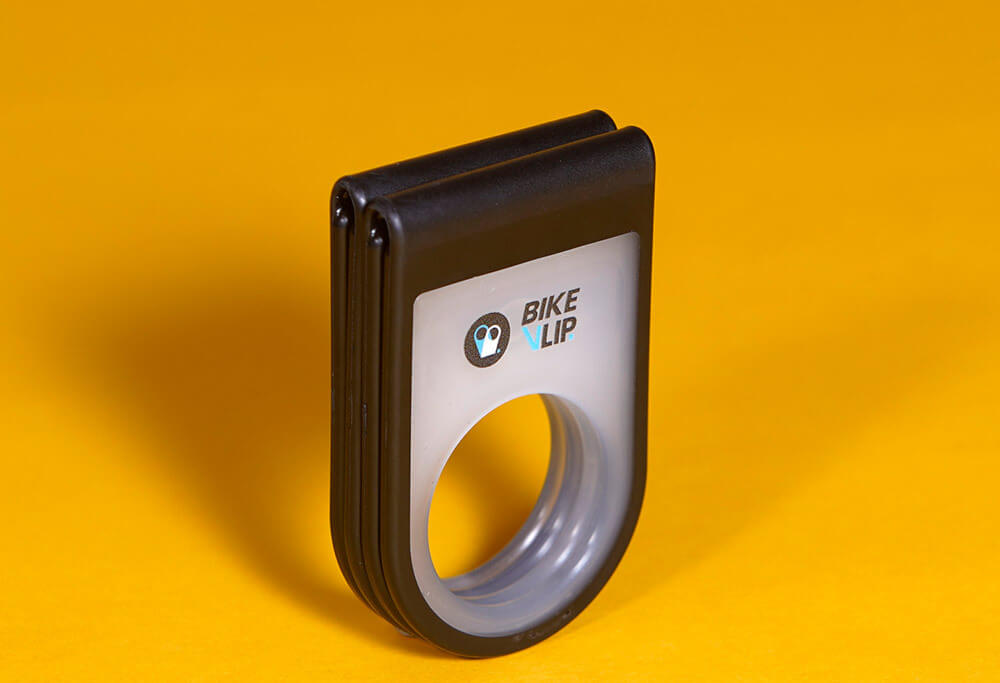
- Volume Spacers: Small plastic parts used in air suspension systems to change the air spring's volume, affecting the spring rate and the suspension's feel.
- Preload: The initial tension applied to the suspension spring. Adjusting preload can affect sag and overall suspension performance.
- Pivot Points: Locations on a full-suspension frame where the parts can move relative to each other, allowing the rear suspension to compress and rebound.
Understanding these terms is crucial for anyone looking to get the most out of their mountain biking experience, as they directly relate to how the bike handles various terrains and obstacles.
Mountain Bike Suspension Travel: Finding the Right Amount
Suspension travel refers to the amount of movement allowed by the bike's suspension system, and it's a key factor in determining how the bike performs on different terrains.
Suspension travel is measured in millimeters (mm) and indicates how much the suspension can compress. This measurement is critical because it determines the suspension's ability to absorb shocks from rough terrain like bumps and drops while you're riding.
In general, more suspension travel means better shock absorption, resulting in a smoother ride on challenging trails.
However, it's worth noting that increased travel can also add weight to the bike and reduce pedaling efficiency, so finding the right balance is important.
Suspension Travel Needs Across Various Mountain Biking Styles
Cross-Country (XC) Biking
- Travel Range: 80-120mm
- Why This Range: Cross-country biking often involves a mix of climbing and descending on relatively smooth trails. Bikes designed for XC are typically lightweight and have less suspension travel. This limited travel is sufficient to handle small bumps and provide a comfortable ride, while also ensuring efficient power transfer for climbing.
Trail Riding
- Travel Range: 120-140mm
- Why This Range: Trail riding is arguably the most common form of mountain biking and involves a bit of everything – climbs, descents, and technical sections. Bikes with 120-140mm of travel offer a good balance between uphill efficiency and downhill capability, making them versatile for various terrains.
Enduro/All-Mountain Riding
- Travel Range: 140-170mm
- Why This Range: Enduro riding is more aggressive and involves bigger drops and more technical terrains than trail riding. Bikes with longer travel can handle these challenges better, providing more cushioning on rough descents and bigger jumps.
Downhill (DH) Biking
- Travel Range: 180-200mm or more
- Why This Range: Downhill biking is all about speed and handling very rough terrain, including large drops and jumps. Bikes designed for downhill have the most suspension travel, which allows them to absorb significant impacts and maintain control at high speeds.
Adjusting Your Mountain Bike Suspension: A Step-by-Step Guide
Making your mountain bike suspension work just right is important for a comfy and better ride, whether you're on bumpy trails or smooth paths.
Here's a clear step-by-step guide to help you do that:
Step 1: Understand Your Suspension Components
Before you start adjusting, familiarize yourself with the key components of your suspension system:
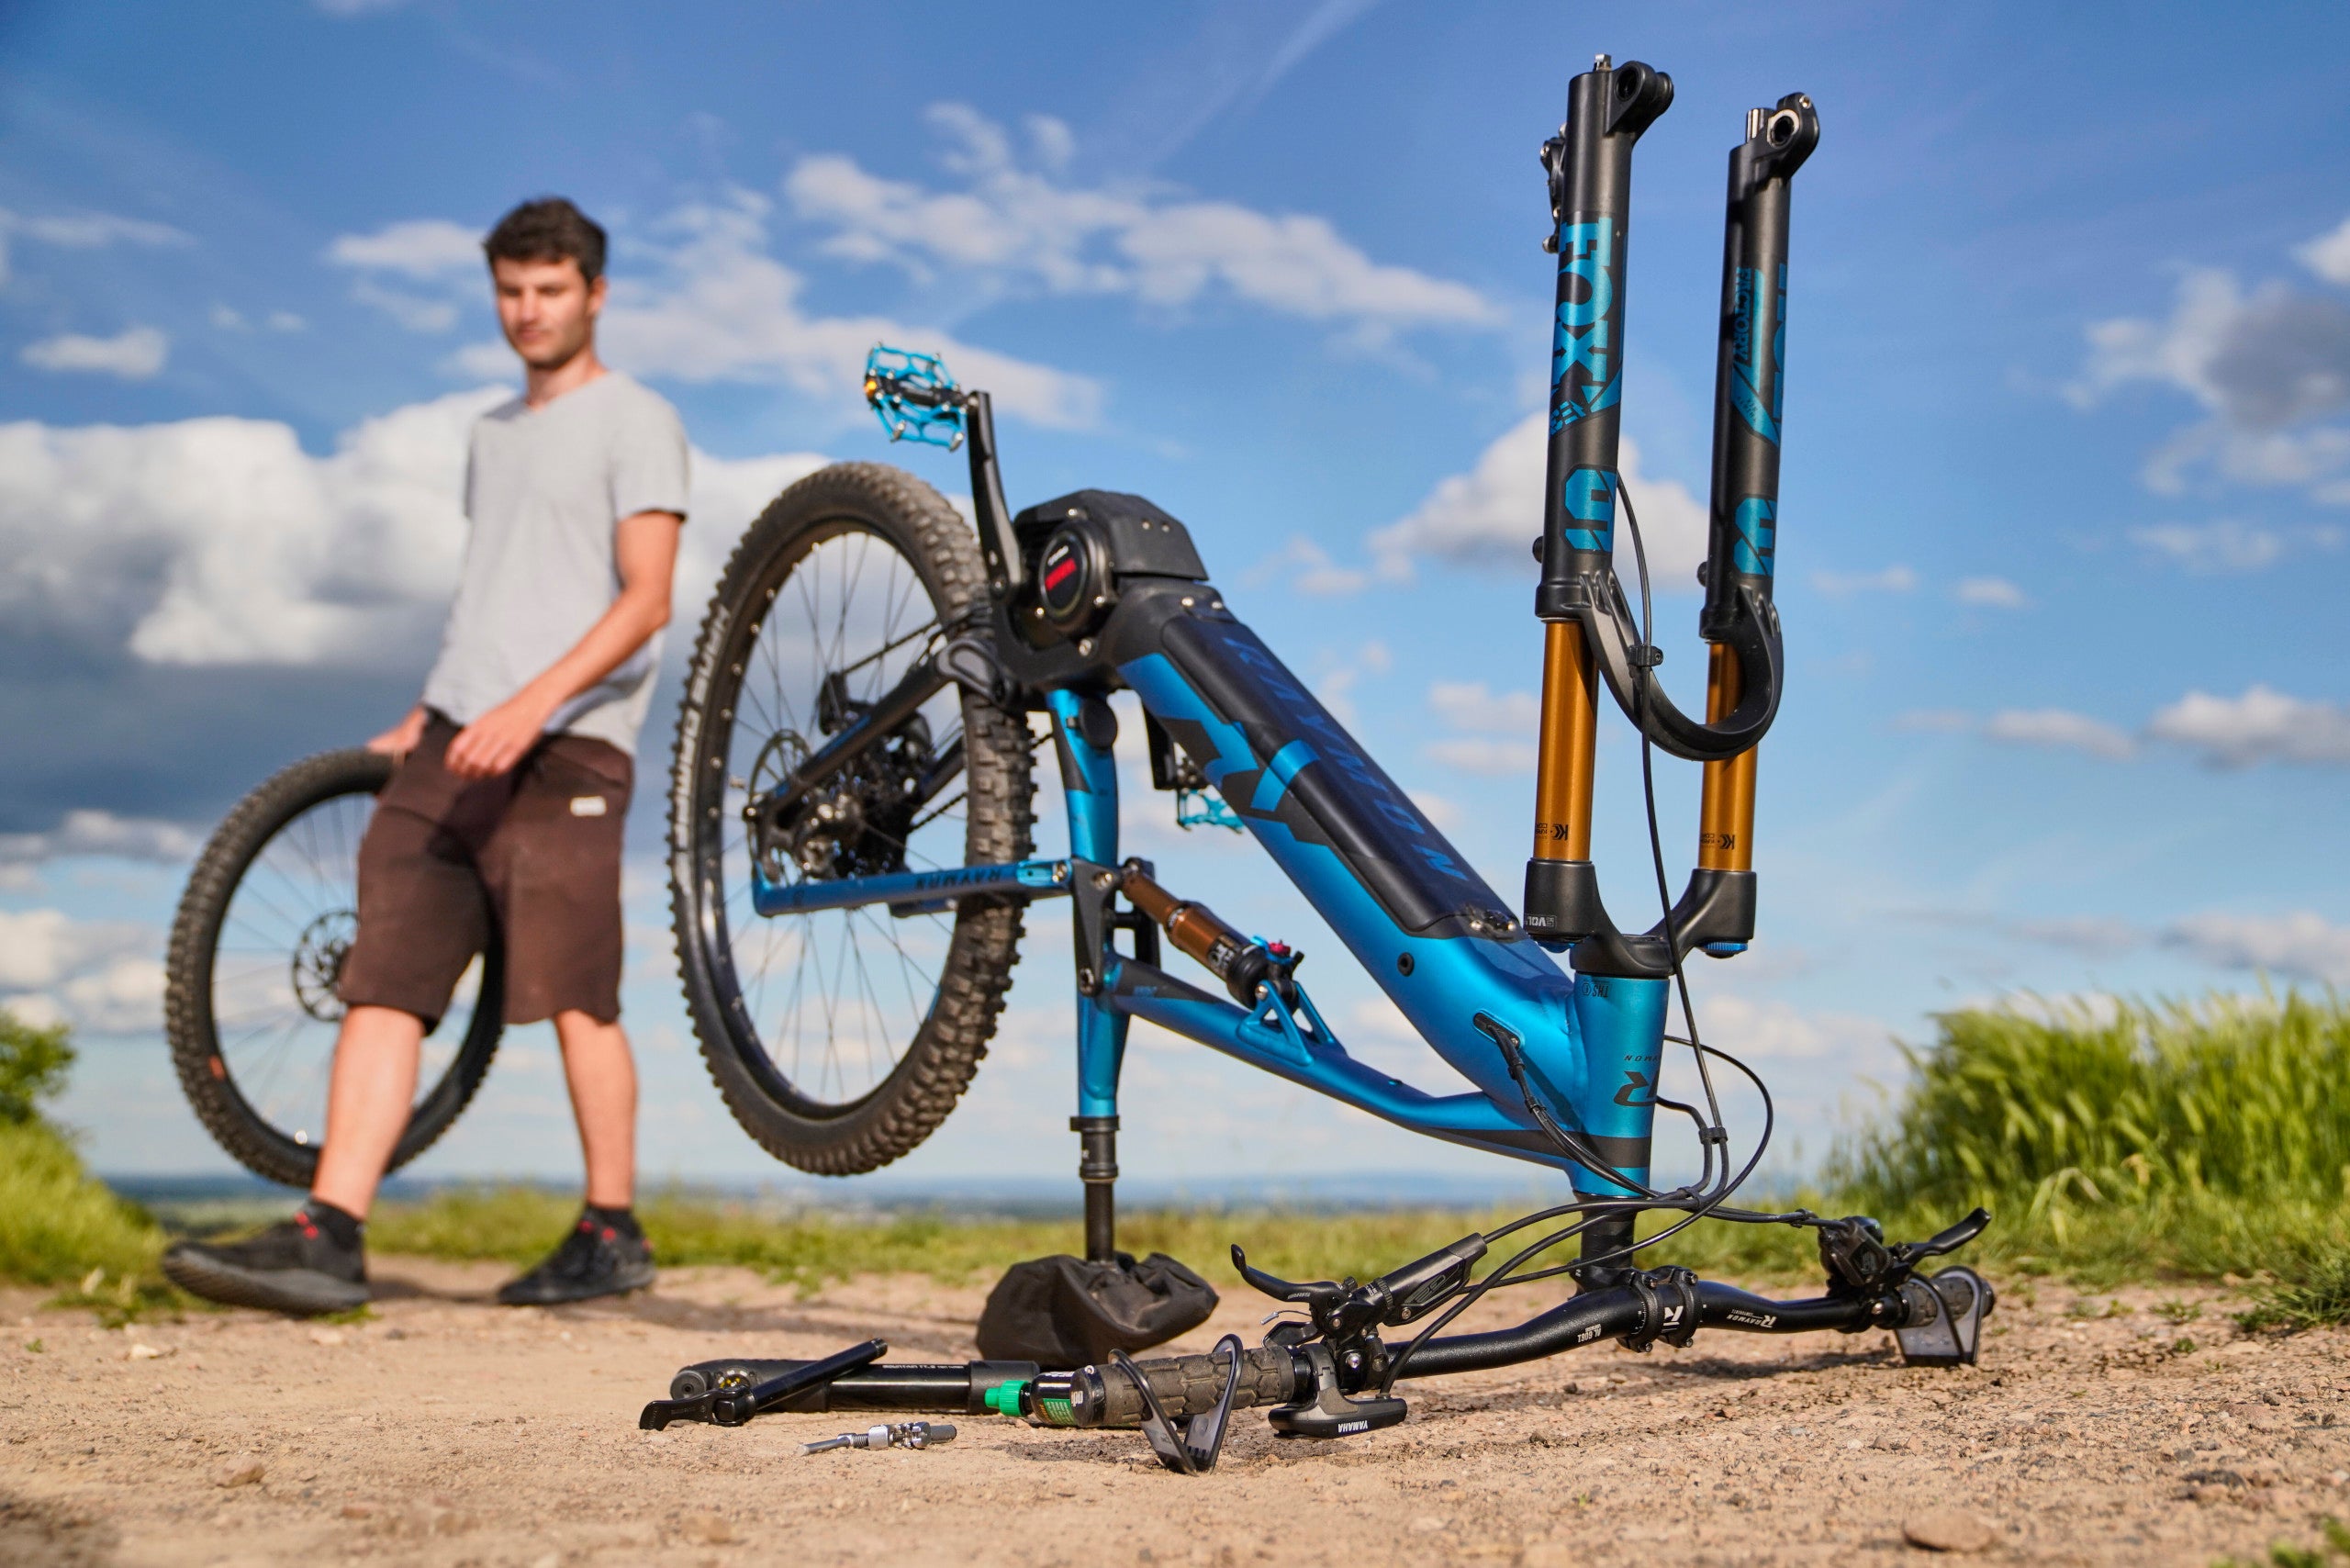
- Fork: The front suspension, which absorbs impacts from the front wheel.
- Shock: The rear suspension, which manages impacts to the rear wheel.
- Adjustment Knobs: Typically found on the top or bottom of the fork and on the shock, used for adjusting rebound and compression.
Step 2: Set Your Sag
Sag is the amount your suspension compresses under your weight and is crucial for proper suspension function.
- Find Your Ideal Sag: This varies based on riding style. XC riders might prefer 15-20% sag, while downhill riders might go for 30-40%.
- Measure Sag: Sit on your bike in your normal riding position. Measure how much the suspension compresses.
- Adjust Air Pressure or Spring Tension: Increase air pressure or tighten the spring to reduce sag, and decrease pressure or loosen the spring to increase sag.
Step 3: Adjust Rebound
Rebound controls how quickly your suspension returns to its original position after compressing.
- Locate the Rebound Adjuster: This is usually a knob marked with a turtle (for slower) and a hare (for faster).
- Adjusting Rebound: A faster rebound setting returns the suspension to its original position more quickly, which is good for smoother trails. A slower rebound is better for rough, technical terrain.
- Test and Fine-Tune: Ride your bike and adjust the rebound until it feels responsive without being bouncy.
Step 4: Adjust Compression Damping
Compression damping controls how your suspension compresses when it hits an obstacle.
- Locate the Compression Adjuster: Look for knobs on your fork and shock.
- Adjusting Compression: Increase compression damping to make the suspension stiffer, useful for smoother trails or climbing. Decrease it for a plusher feel on rough terrain.
- Balance Between Comfort and Control: Find a setting that offers a good balance between absorbing impacts and maintaining bike stability.
Step 5: Test and Fine-Tune
After making adjustments, it's important to test your bike on terrain similar to what you usually ride.
- Go for a Test Ride: Pay attention to how the bike handles bumps, jumps, and turns.
- Make Fine Adjustments: Based on your ride experience, make small adjustments to the sag, rebound, and compression until you find the perfect setup.
Step 6: Regular Maintenance and Reassessment
Your mountain bike suspension needs may change over time due to changes in riding style, weight, or terrain. Regularly reassess and adjust your suspension to ensure it's always tuned to your current needs.
Adjusting mountain bike's suspension is a trial-and-error process, so try different settings to find what works best for you. Even small changes can have a big impact. A well-tuned mountain bike suspension will give you better control, comfort, and performance
How To Customize Mountain Buke Suspension For Diverse Disciplines
Mountain biking offers a variety of riding disciplines, each placing distinct requirements on your bike's suspension. Adjusting your suspension to match your chosen riding style can greatly improve your overall experience and performance.
Let's explore how to fine-tune your mountain bike suspension settings for different mountain biking disciplines:
- Suspension Setup: Set up your suspension to be firmer to maximize power transfer and efficiency. The sag should be less than what you would use for more aggressive riding styles, around 15-20%.
- Rebound Settings: A faster rebound is preferable to keep the tires in contact with the ground for better traction and control during quick maneuvers.
- Suspension Setup: Opt for a balanced mountain bike suspension setup. The sag should be around 20-30%, providing a good mix of comfort, traction, and efficiency.
- Rebound Settings: The rebound should be set to a moderate speed, offering a balance between quick response and stability.
- Suspension Setup: Set the mountain bike suspension to be plush and responsive. A sag of about 25-35% can offer the necessary absorption for rough descents while maintaining pedal efficiency.
- Rebound Settings: A slightly slower rebound helps maintain control over rough and steep terrain, ensuring the bike remains stable and predictable.
- Suspension Setup: Suspension should be set up to absorb large hits, drops, and rough terrain. Sag can be around 30-40%, allowing the bike to soak up big impacts.
- Rebound Settings: Rebound is often set slower than in other disciplines to manage the high-speed impacts and maintain stability and control during fast descents.
Remember, mountain bike suspension settings are not a 'set and forget' aspect of your bike; they require regular tweaking and adjusting based on changing conditions and evolving riding skills.
Exploring Mountain Bike Suspension Setting Options
Modern mountain bikes offer various suspension adjustments to enhance your riding experience in different conditions.
Let's discover some of these options in more detail:
Lockout
- What It Is: The lockout feature on a suspension system allows you to effectively 'lock' the suspension, preventing it from compressing.
- When to Use It: This feature is particularly useful when climbing or riding on smooth, flat surfaces. By locking out the suspension, you reduce energy loss due to suspension movement, making your pedaling more efficient.
- Types of Lockout: Some lockouts completely immobilize the suspension, while others may offer a 'threshold' setting, allowing minimal suspension movement to absorb larger impacts, providing a balance between efficiency and comfort.
Volume Spacers
- What They Are: Volume spacers are small plastic parts that can be inserted into an air suspension fork or shock.
- Purpose: They reduce the air chamber's volume, effectively changing the spring curve of the suspension. This makes the suspension more progressive, meaning it becomes stiffer as it gets closer to full compression.
- Adjustment Impact: By adding volume spacers, you can prevent the suspension from bottoming out on large impacts and improve its performance on big jumps and drops. It also allows riders to run lower air pressure for a more sensitive suspension feel at the start of the travel, without sacrificing support in the latter part of the travel.
- Customization: Riders can add or remove spacers to fine-tune the suspension's feel to their weight, riding style, and the terrain they typically encounter.
High-Speed and Low-Speed Compression Damping
Many advanced suspension systems allow for separate adjustments of high-speed and low-speed compression damping.
High-Speed Compression Damping
This controls how the suspension reacts to high-speed, high-energy impacts, such as hitting a big rock or landing a jump.
Increasing high-speed compression makes the suspension firmer during these impacts, which can help in preventing bottoming out. Decreasing it allows the suspension to absorb more of these high-speed impacts.
Low-Speed Compression Damping
This manages how the suspension responds to slower movements, like body weight shifts or rolling over small obstacles.
Increasing low-speed compression can improve pedaling efficiency and reduce suspension movement under less intense forces. Decreasing it allows for a more supple response to small bumps and a smoother ride.
Adjusting these settings requires a balance. Too much compression damping (either high or low speed) can lead to a harsh ride, while too little can make the bike feel unresponsive.
Final Say: Get The Best From Your Mountain Bike Suspension
Tuning your mountain bike suspension can make a huge difference in your rides. It's not just about making the bike feel better; it's about making your rides more fun and safer. Whether you're going over big bumps or racing down a hill, the right suspension setting
Remember, the more you ride and adjust your suspension, the better your mountain biking adventures will be. So, go out there, play with your suspension settings, and see how much better your rides can be.


